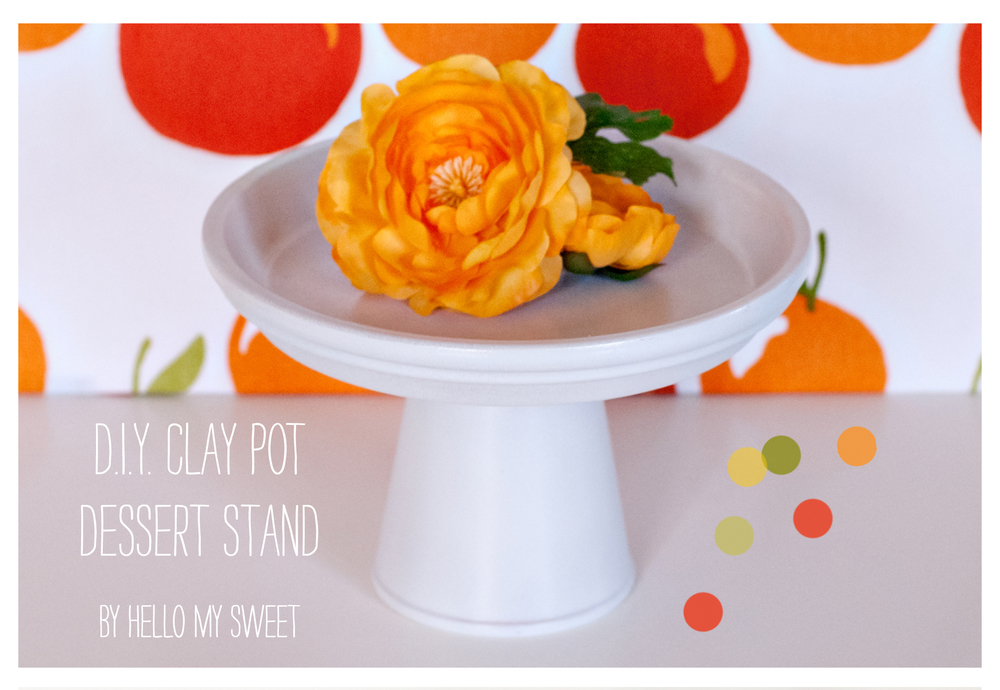
Sweet DIY: Clay Pot Cake Stands

Good afternoon fellow crafty people!

We have an awesome and easy tutorial on creating your own Dessert & Cake Stands today!

As you already know we are all about budget partying, so it should come as no surprise that we have decided to use some very common and inexpensive materials for this project. This stand is simple to make and of course VERY inexpensive. Just a couple of simple clay pots and saucers in different sizes and you could have an entire set of serveware for your own party or dessert table display.

Ok here we go!

Here is a list of the materials that you will need to make your own “Clay Pot Dessert Stand(s)”:

  • Loctite Adhesive (super heavy duty for porous surfaces like clay)
  • Pencil
  • Clay Pot
  • Clay Saucer
  • Decorative Material to finish (We used spray paint, but you could be as creative you want of course!)
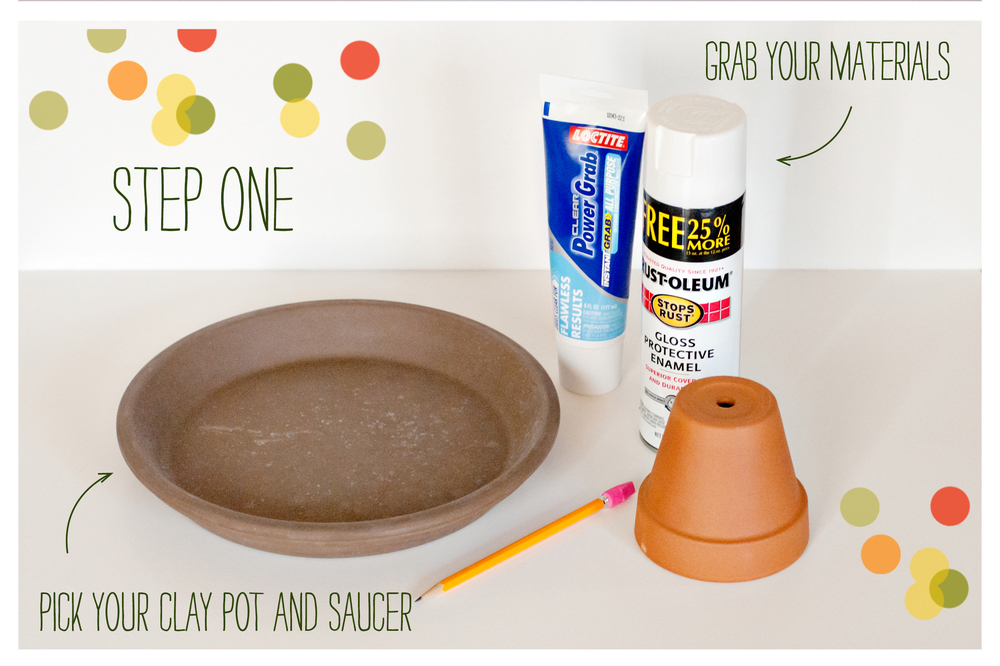

Step One: Choose a small clay pot and a large saucer. We found that the darker clay versions (as pictured) work better as far as paint coverage is concerned. The orange clay tends to show cracks when you paint it. The larger the saucer you choose the larger the pot underneath should be to make sure it can support properly. You want these to be nice and sturdy!
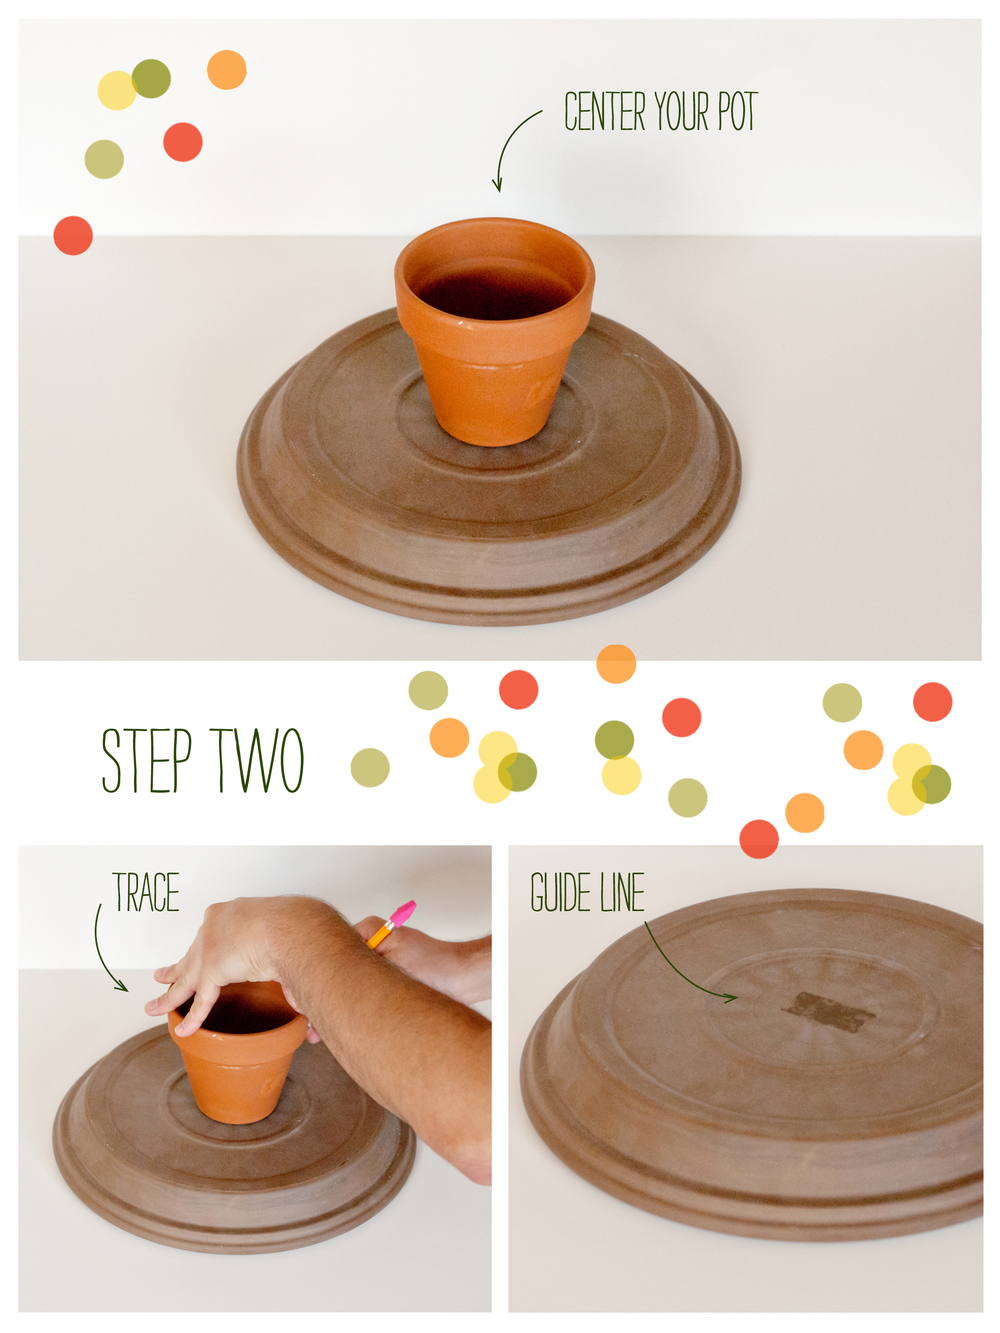

Step Two: Flip your saucer over bottoms up and place the base of the small clay pot on the center of the saucer. Trace the bottom of the pot outline onto the saucer and remove.
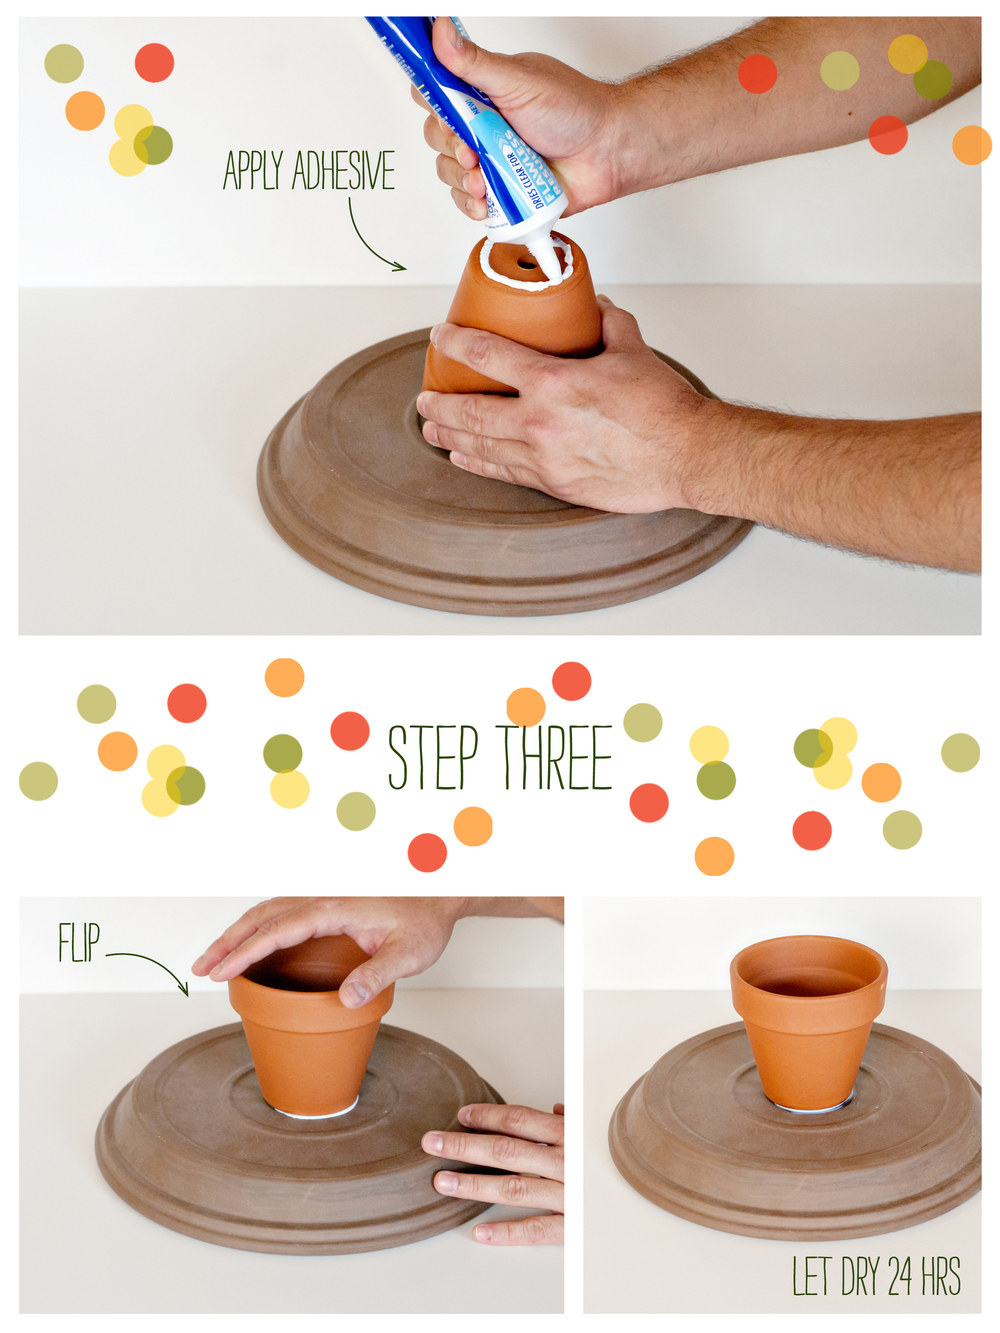

Step Three: Carefully apply your Locktite adhesive to the bottom of the clay pot, taking precautions to keep your glue inside the rim. Flip the pot over and place it inside the traced area on the saucer to secure in place. Let sit for 24 hours to completely dry before you flip it over.


Step Four: Now it is time to decorate your stand. Go ahead and flip it over and admire your handiwork. We chose to take a can of glossy white spray paint to our because we wanted something neutral that we can use over and over. The sky really is the limit here though, you could glitterize it, modge podge collage it, spray it, paint or stencil. It’s up to you!

Congratulations!

You now have your very own Clay Dessert & Cake Stand! These are really nice because they weigh quite a bit and are sturdy. If you plan to put food on your stand be sure to use a food safe base of parchment or paper underneath to keep the food from touching your decorated area. You could also apply a coat of food safe polyurethane spray and not have to worry about it!

Have you tried this technique before?

Leave us a comment below!

If you tried this out end enjoyed it, please pin us to Pinterest and share the DIY love!


Sweet DIY: Stretched Canvas Art

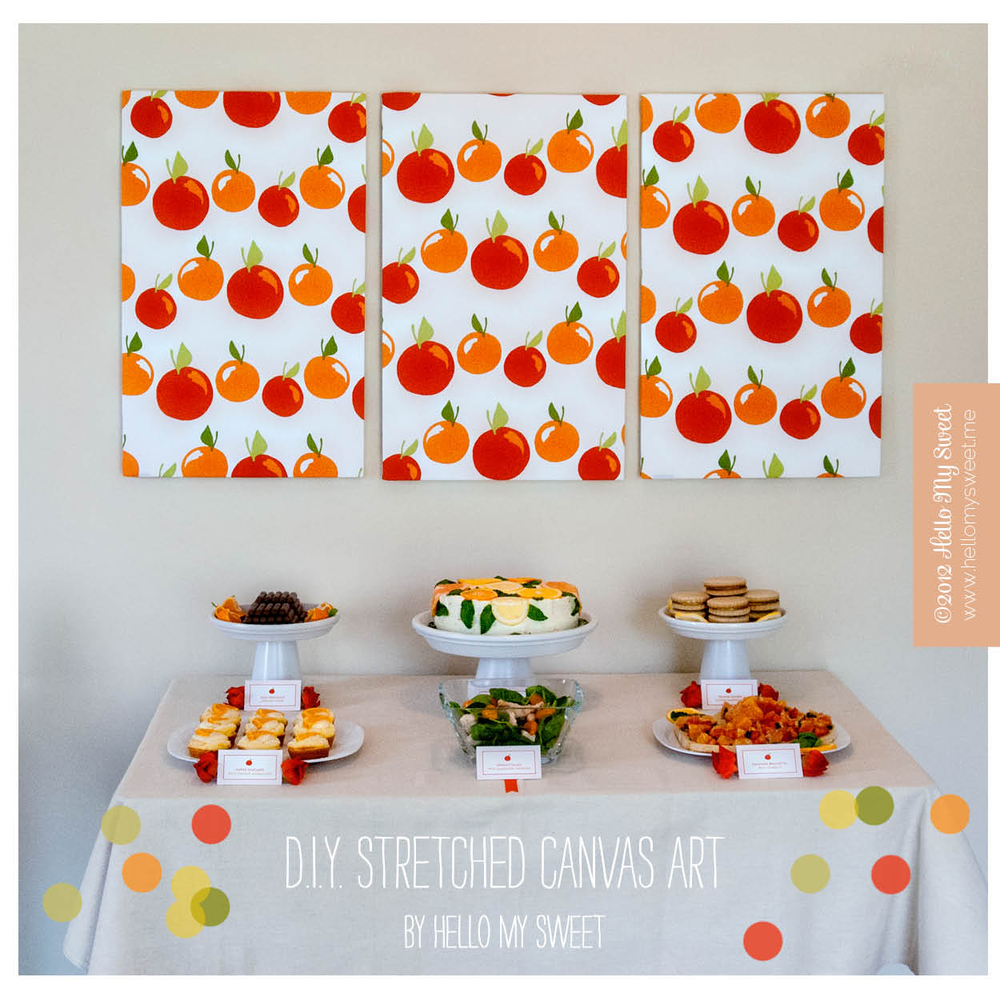
Today we want to show you how easy it can be (and inexpensive of course) to create your own Stretched Canvas Artwork. In our example you see that we used three of these pieces to create a modern and symmetrical backdrop for our Citrus Brunch buffet. However, you are not merely limited to backdrops, oh no, no. This technique could be used to beautify any space with stretched canvas art.

I personally was really excited with the results of this little experiment. So much so that we plan to use these in our kitchen now as wall art! I may even use one as a pin board as well for notes and reminders and such. Since the frame is backed with foamcore, it is perfect for push pins or straight pins.

We are going to demonstrate for you how to build a frame and stretch the fabric across it. Ours had specific dimensions due to the fabric we chose, which were actually a 3-pack of kitchen towels from Target. So they were already sized and we built our frame to accomodate that size. However you could pick any fabric you want and make your frame any size you want as well, using our technique as a guide. Take notice that NO NAILS or MITRE BOXES are required for this project. Super duper easy.

Step One: Lay your foam core down onto the fabric you chose. Adjust so that the foam core rests on top of the fabric with at least 1” of fabric extra on each side. Then cut the excess fabric away. You should now have a piece of fabric with 1” or more overhang all the way around each side of the foam core.

Step Two: Measure the width and height of your foam core. Mark your wood strips accordingly so that you have two pieces to cut as your width. Subtract two inches from your height measurement and mark two more pieces to cut at that final measurement as well. Cut your wood pieces. Our foam core is 16”w x 24”h, so we had two wood pieces at 16”w and two wood pieces at 22”h. (See photo for example.)

Step Three: Assemble your frame by laying our your wood pieces on top of the back side of the foam core. Lay your width pieces down first, they should stretch equally from edge to edge of the foam core at the top and the bottom. Then lay your height pieces down, they should meet up with the top and bottom pieces you already have and fill in the gap on the left and right sides of the foam core, completing the frame. Once you have everything as it should be, secure it in place with your loctite adhesive. (Photo example #1 below.)

Step Four: Place your fabric wrong side up and place your finished frame on top, wood side up, foam side down. Position it as you did when measuring in Step One. You should have your frame centered with at least 1” of extra fabric on all sides. (Photo example #2 above.)

Step Five: Using your staple gun to secure it, careful pull your fabric tight over the center of one side of your wood frame and staple it there. Do this for all four sides, stretching your fabric carefully and evenly and tightly across the frame, secure it with one staple. (Photo example #3 above.) You should now have your fabric secure to the frame. Proceed by stapling the sides the rest of the way, working from the stapled center point out toward the corners on all sides, leave the corners for last. When you are ready to finish the corners, tuck the excess fabric in on the sides, then pull the corner tightly toward the center of the foam core and staple to the wood frame. (Corner detail example below.)

Step Six: (Optional) You can add a picture hanger to the top of your frame to make hanging easier. 

Well there you have it! Stretched Canvas Art without a hammer, nails or mitre box. (Jason is pretty genius right?) Imagine the possibilities. I bet you’ll never overlook that awesome fabric pattern online or that cool vintage patterned table cloth you spotted again. Now you have a reason to take them home and make them into your own wall art!

The added bonus here, that I mentioned earlier already, is that you could use these as pin boards as well. In fact I have one above my desk that we made in similar fashion that I use as a french message board. We added two extra things for that, a layer of batting between the fabric and foam core, and ribbons interwoven on the front side.

Tell us what you think! What do have lying around just waiting to be made into canvas art?

A Guide to Increasing Your Creativity and Saving Money

Today we wanted to talk a little bit about how to increase your creativity level when planning and designing a dessert table or party. As most of you already know, we prefer to keep our parties and tables on a budget. Which means of course that being creative about how you spend money is absolutely paramount.

We make many of the things you see featured on our Dessert Tables. Some of them are things we found and simply redecorated. Others were objects meant to serve a completely different use, so when we use them to do something other than what they were originally intended for, we call that repurposing.

While these concepts of restyling or redecorating and repurposing is something we utilize a lot now, it wasn’t always the case. We used to spend a lot more time trying to find the perfect item, ready to go on the table, without alteration. If you are a budget savvy party planner we urge you not to do this. First of all, it is a time-consuming process, and who couldn’t use extra time when planning a party? Second, it is costly. It costs you more money to find something ready to use than it does to find something you can re-style or re-purpose. Of course if you are in a huge hurry you might find that a DIY is not an option. In that case we urge you to plan ahead more often and try to build in time for projects!

Here is a creative example of repurposing. Jason created this Space Helmet out of some very ordinary objects. He wanted a very specific look for it, retro-futuristic, large and bubble like. Now how hard would it be to find a helmet like that and not spend a fortune on it? Even if you did find one, it would be an antique and would cost at least a few hundred dollars. Our helmet cost us about $7 dollars to make. That figure includes the cost of a Slurpee, which is about $2.50.


This is a great example of restyling. Jason envisioned several Ray-guns on our Retro Space Dessert Table. Do ray-guns actually exist outside of the movie industry? I’m not sure, but I don’t think so. That would make them very hard to find. What he did find however were some squirt guns at Dollar Tree. The body style was spot on, but the color was all wrong. A little DIY project later and we had restyled those squirt guns to fit our theme perfectly. Oh, and they were only $.33 each. And we used materials we already had to do it.


Can you tell who the visionary is in this outfit? Haha. It isn’t me. Jason has that knack for figuring out how to make things work out the way he wants them to.

Here are some tips on finding objects that will work for your project:

  • Look beyond what something is already and further on to what it could be instead.
  • Search your house first. We have constructed many a DIY out of random objects from our kitchen pantry.
  • Soda Bottles and Food Containers have been pivotal for us. Jason likes to examine food containers at the grocery store when we shop to find the right shapes that he needs to construct.
  • Never count out the dollar stores. It is the first place we go when we look outside our home for something. I can’t tell you how many times we have found exactly what we were looking for at a dollar store. Seriously. They have the most random items sometimes. Hardware stores are also a treasure trove.
  • If it can be spray painted or hot glued, it can be turned into something else.
  • Foamcore Board and Poster Board are extremely useful materials, and you can get them at the dollar stores. They are not just for school projects!


We hope this information helps when it comes to planning and saving some money too!

If you have any questions, suggestions or helpful tips of your own, please do share them in the comments below!


Sweet DIY: Retro Ray-gun Tutorial

Welcome back to our humble blog today!

We have another simple, and affordable DIY tutorial up our sleeves to show you today. This go round we are going to make some Dollar Tree squirt guns magically transform into Retro Ray-guns. This project is all about the vision to see what an objects potential is. Jason is really skilled at this. He can see something in the store as a completely different object down the road. All we required were a few crafting materials we already had at home, and a package of squirt guns, which cost $1 per three pack. 

Let get to it!

For this project you will need:


  • Spray Paint (or Craft Paint & Applicator)
  • Sandpaper
  • Plastic Squirt Guns
  • Painters Tape
  • Newspaper
  • Spray Polyurethane

Step One: Decide what area of your ray-guns you want to paint. We chose to completely cover two of ours, and leave one blue and just paint the bolt on the side of it. You will want to mask off the trigger area just to make sure it doesn’t get stuck in place with paint. Use your painters tape and newspaper to mask. 

Step Two: Rough up your painting area with a fine grit sandpaper. This will help ensure your paint adheres well to the plastic. The shiner and smoother the plastic, the more difficult the bond can be. Once you are done sanding, be sure to wipe the ray-guns down to remove any loose debris that would prevent the paint from sticking as well.

Step Three: Unleash your inner paint artist and go town on those ray-guns! We tried to achieve a nice retro feel by using some matte metallic spray paint and an accent of dark red here and there to match the overall color palette of our Retro Space Dessert Table. Allow your paint to dry thoroughly and then apply a polyurethane spray coat as well to keep the paint from scratching of and protect little hands too!

We used our Ray-guns as decoration, but you could easily hand them out to your guests to have a super fun squirt gun fight, or even as a party favor or gift!

What do you think about this project?

We’d love to hear your comments below!