Good afternoon fellow crafty people!
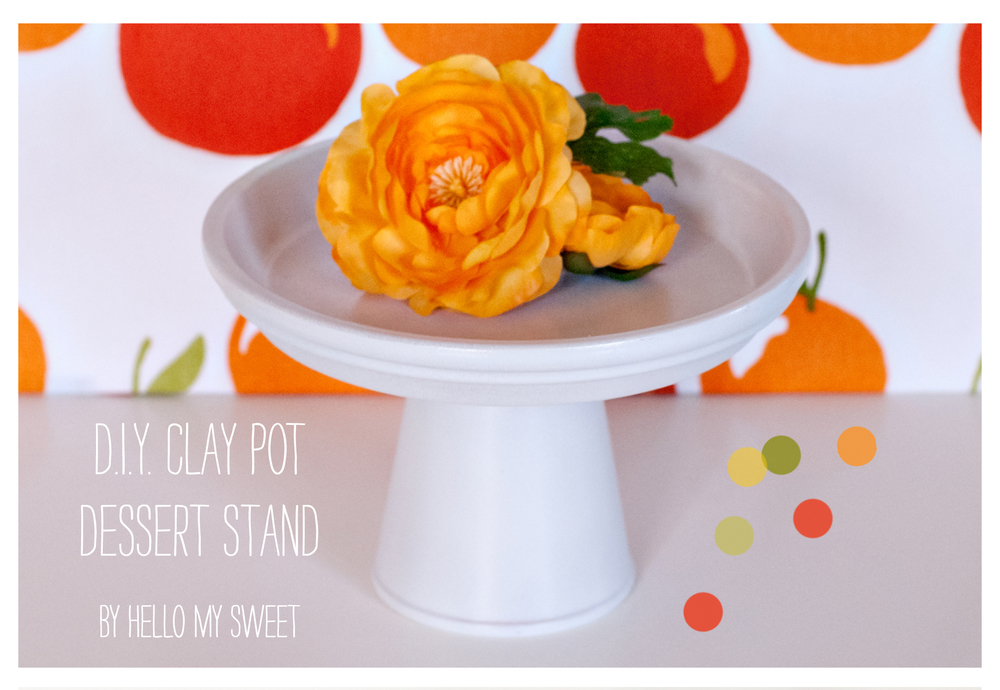
We have an awesome and easy tutorial on creating your own Dessert & Cake Stands today!
As you already know we are all about budget partying, so it should come as no surprise that we have decided to use some very common and inexpensive materials for this project. This stand is simple to make and of course VERY inexpensive. Just a couple of simple clay pots and saucers in different sizes and you could have an entire set of serveware for your own party or dessert table display.
Ok here we go!
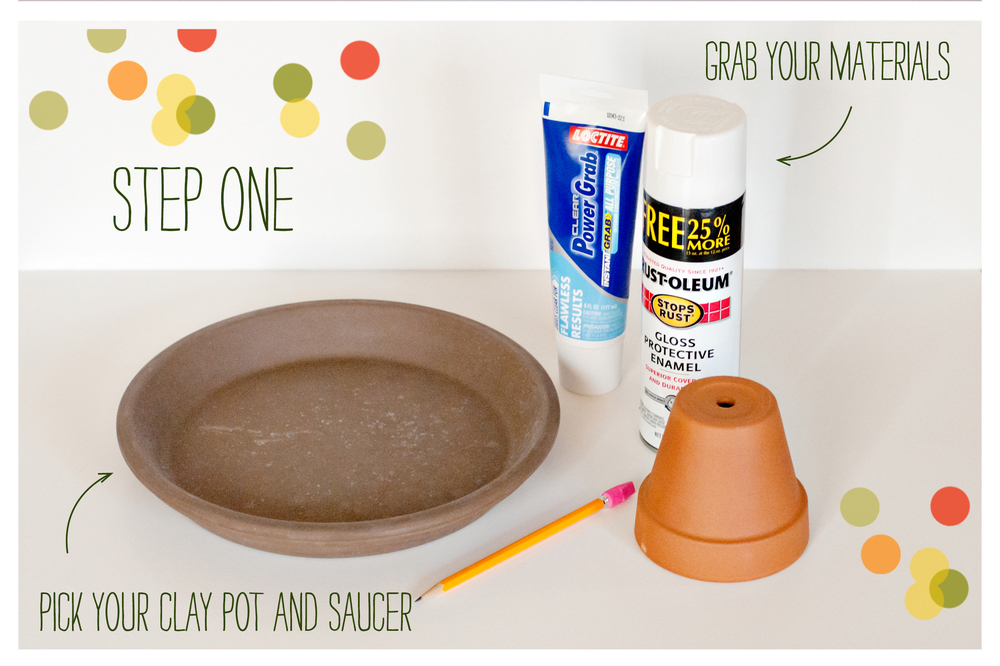
Here is a list of the materials that you will need to make your own “Clay Pot Dessert Stand(s)”:
- Loctite Adhesive (super heavy duty for porous surfaces like clay)
- Pencil
- Clay Pot
- Clay Saucer
- Decorative Material to finish (We used spray paint, but you could be as creative you want of course!)

Step One: Choose a small clay pot and a large saucer. We found that the darker clay versions (as pictured) work better as far as paint coverage is concerned. The orange clay tends to show cracks when you paint it. The larger the saucer you choose the larger the pot underneath should be to make sure it can support properly. You want these to be nice and sturdy!

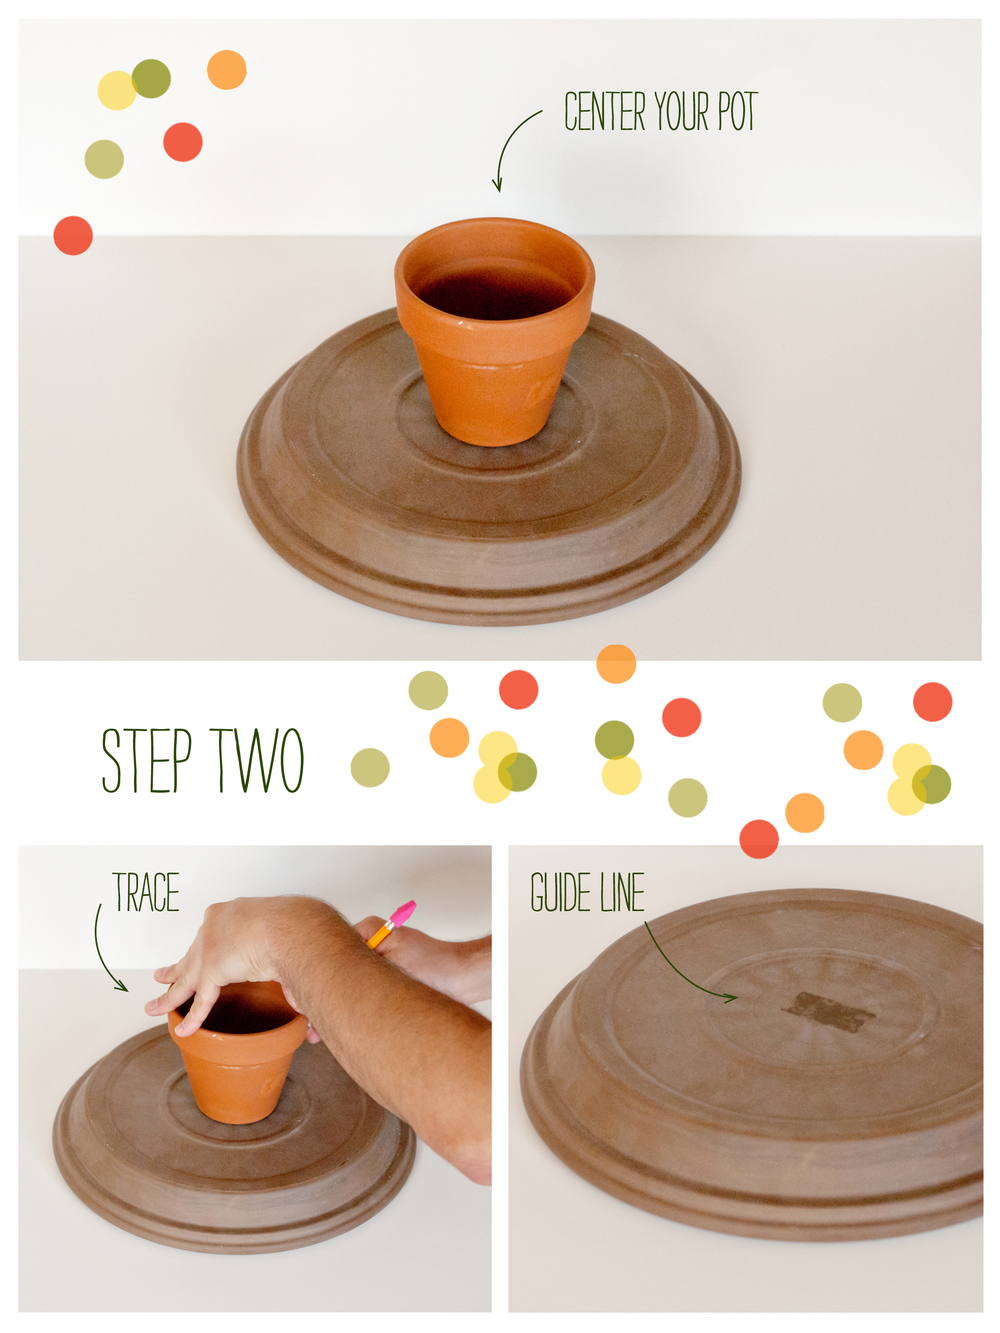
Step Two: Flip your saucer over bottoms up and place the base of the small clay pot on the center of the saucer. Trace the bottom of the pot outline onto the saucer and remove.

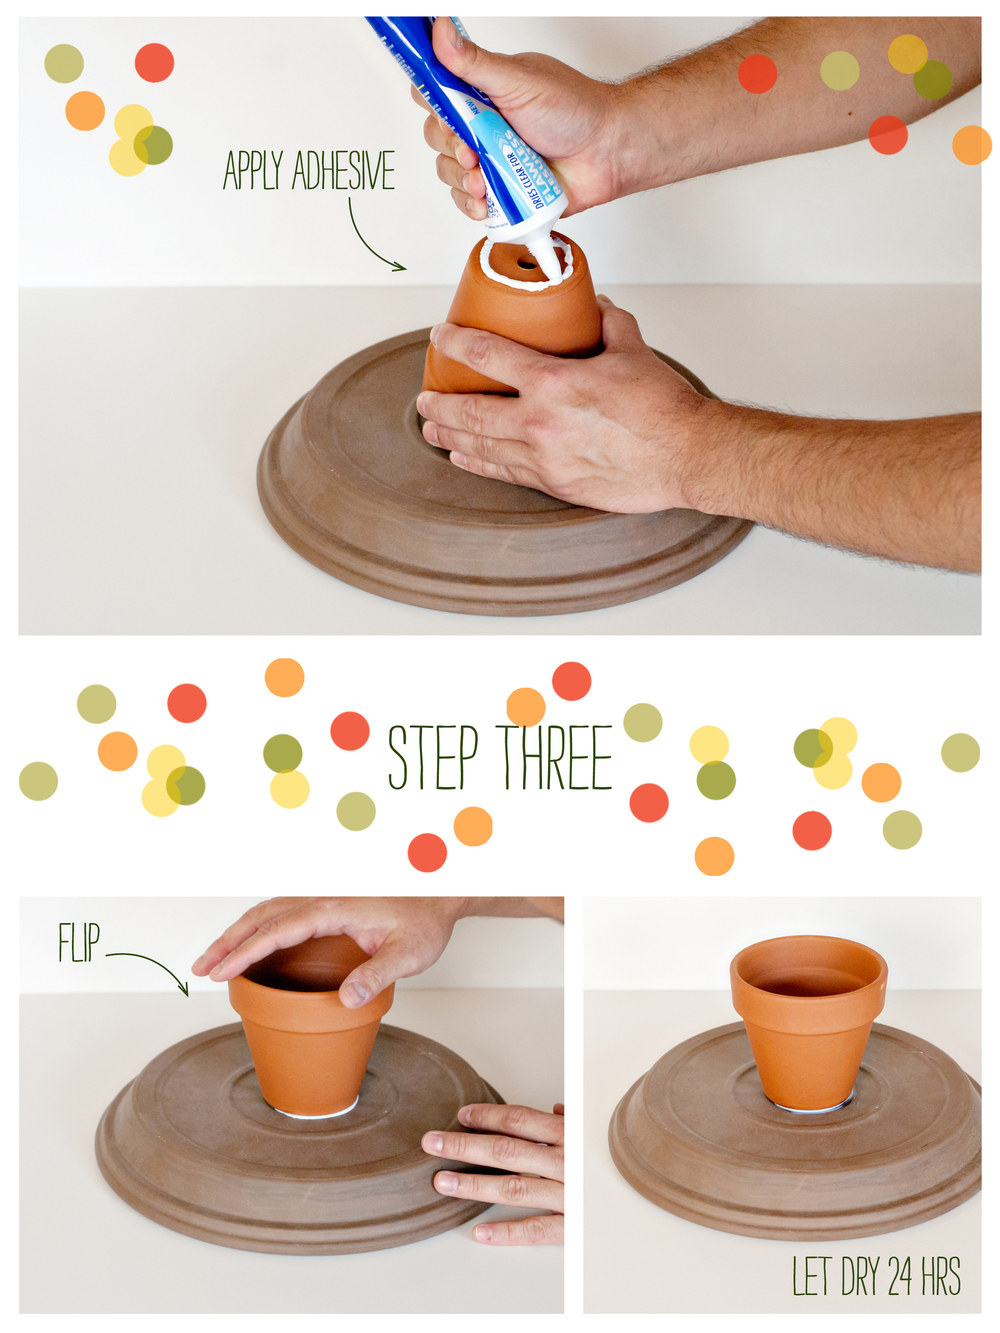
Step Three: Carefully apply your Locktite adhesive to the bottom of the clay pot, taking precautions to keep your glue inside the rim. Flip the pot over and place it inside the traced area on the saucer to secure in place. Let sit for 24 hours to completely dry before you flip it over.

Step Four: Now it is time to decorate your stand. Go ahead and flip it over and admire your handiwork. We chose to take a can of glossy white spray paint to our because we wanted something neutral that we can use over and over. The sky really is the limit here though, you could glitterize it, modge podge collage it, spray it, paint or stencil. It’s up to you!
 Congratulations!
You now have your very own Clay Dessert & Cake Stand! These are really nice because they weigh quite a bit and are sturdy. If you plan to put food on your stand be sure to use a food safe base of parchment or paper underneath to keep the food from touching your decorated area. You could also apply a coat of food safe polyurethane spray and not have to worry about it!
Have you tried this technique before?
Leave us a comment below!
If you tried this out end enjoyed it, please pin us to Pinterest and share the DIY love!
