Welcome to the Sweet DIY tutorial area of our blog!
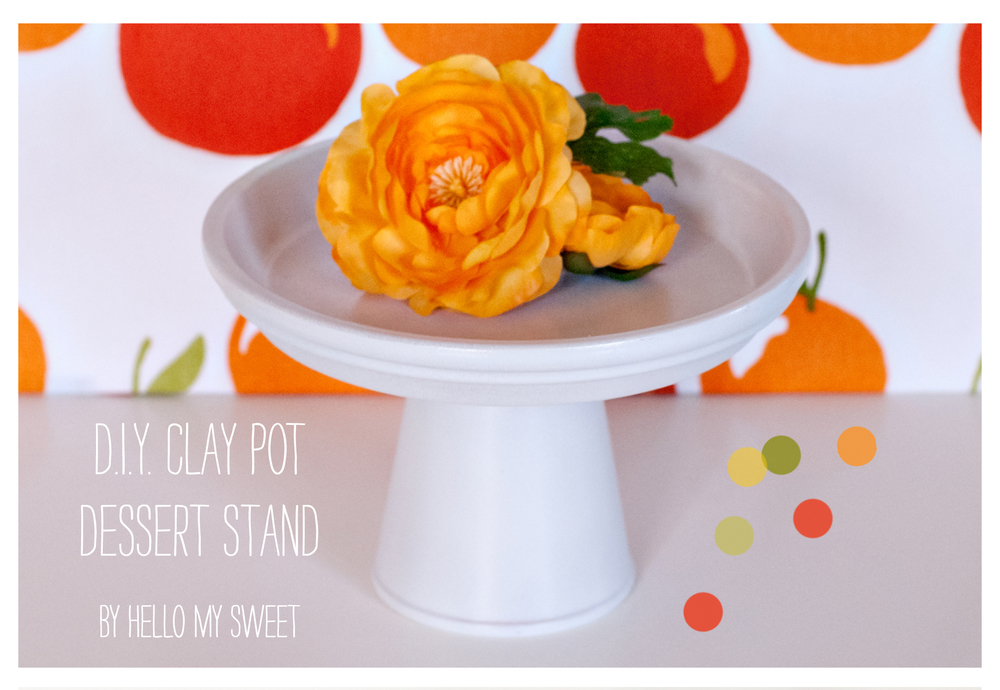
This tutorial is for our White Wooden Dessert Pedestal as seen on our Vintage Circus Dessert Table. We want to share with you just how easy it is to create your own dessert pedestals for cakes, candies, cookies, cupcakes, whatever you desire to put on them! This particular pedestal was inspired by a vintage circus themed party we planned for our son's 2nd birthday a few weeks ago.
While browsing for the serving pieces we wanted to use we were a bit discouraged by the price tag that came with most vintage serving pieces and new ones too for that matter. As a budget conciencious family we are always on the look out for the best deal or cost-effective option and for us that means DIY most of the time.
 So, let's get down to business here.
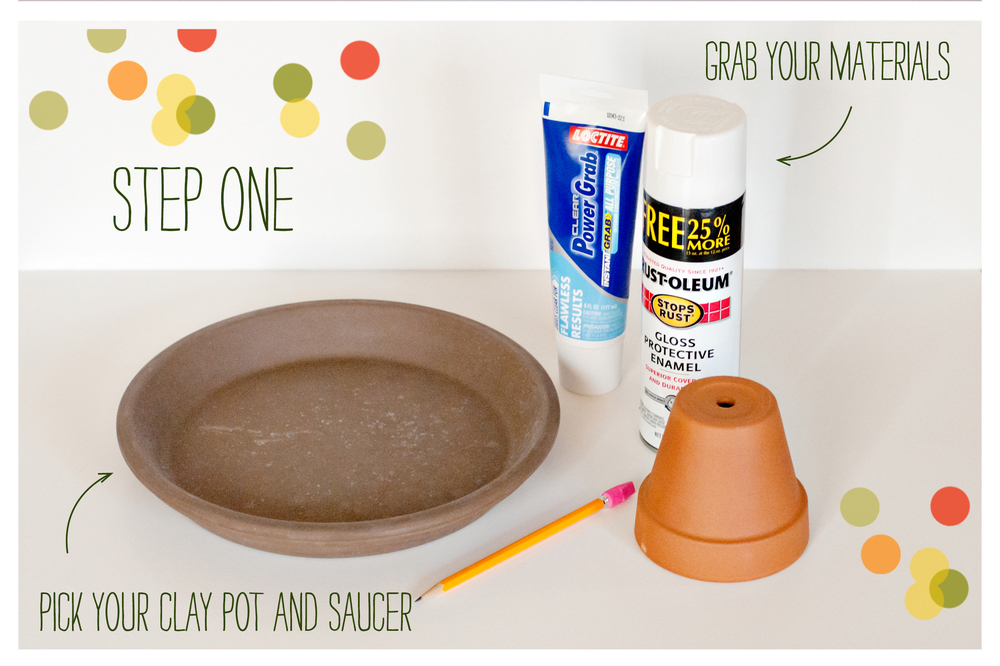
For this project you will need several common tools and several items all purchaseable at AC Moore.
- 1 clean cloth
- ruler
- pencil
- 1 wooden candlestick
- 1 rectangular wood block
- 1 circular wood block
- 1 small wooden tray
- 1 pack of woodsies craft sticks
- 1 tube of liquid nails
- 1 small square of fine grit sandpaper
- 1 utility knife + a safe cutting surface
- 1 can of spray paint (we chose white)
- empty cardboard box or safe painting area in a well ventilated space

Step One: Prep Work
Take your wooden components and lightly sand them all over to get rid of any imperfections or splintering. You want a nice smooth even surface for your glue and paint to adhere to. After sanding, wipe of any fine dust with a damp cloth, then let your pieces air dry for a few minutes.

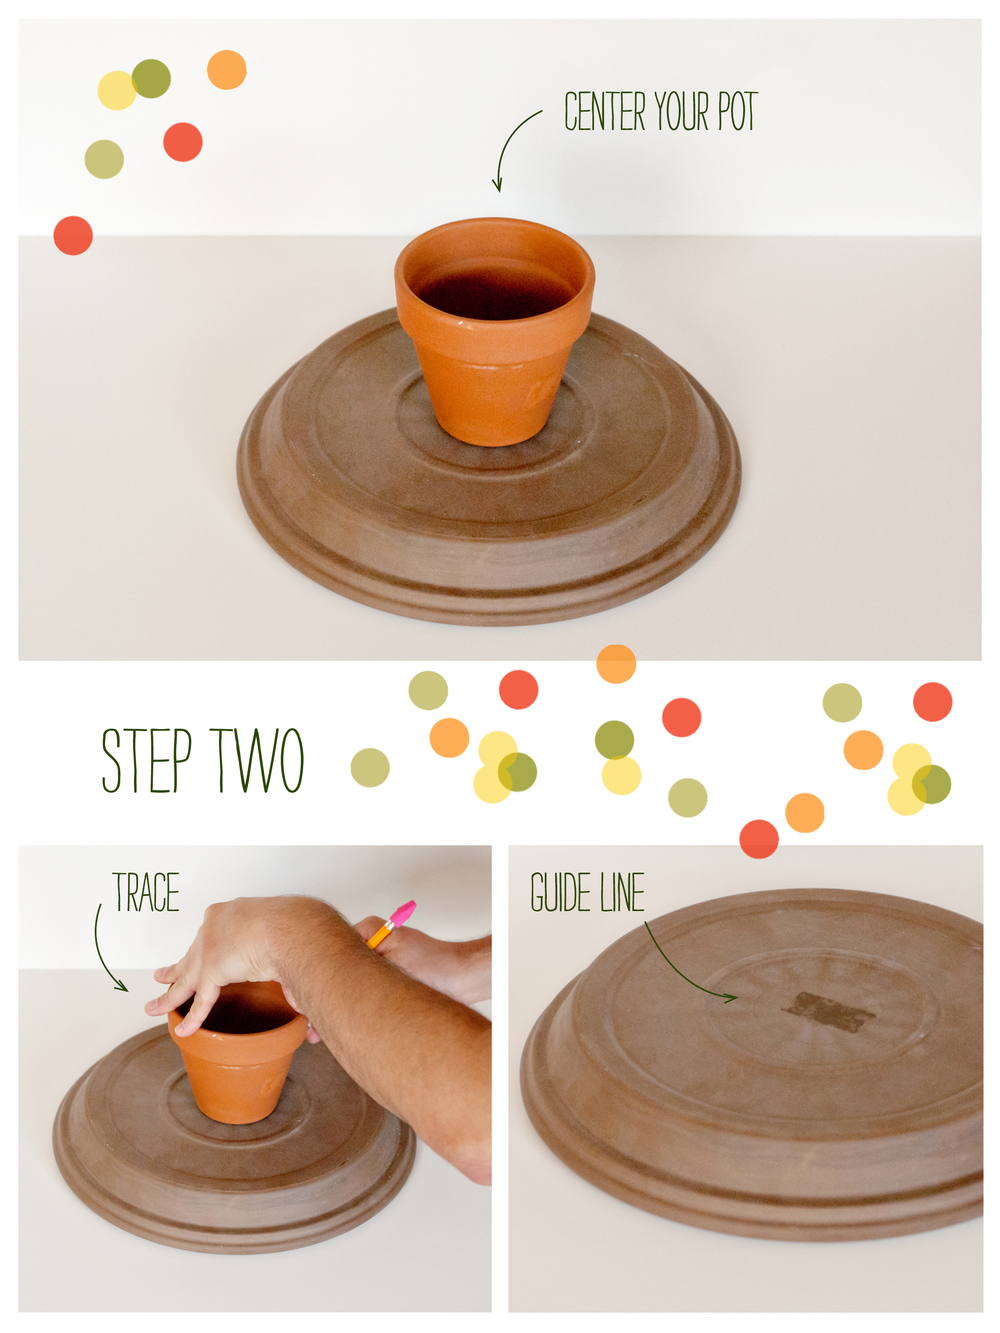
Step Two: Measure + Mark + Glue
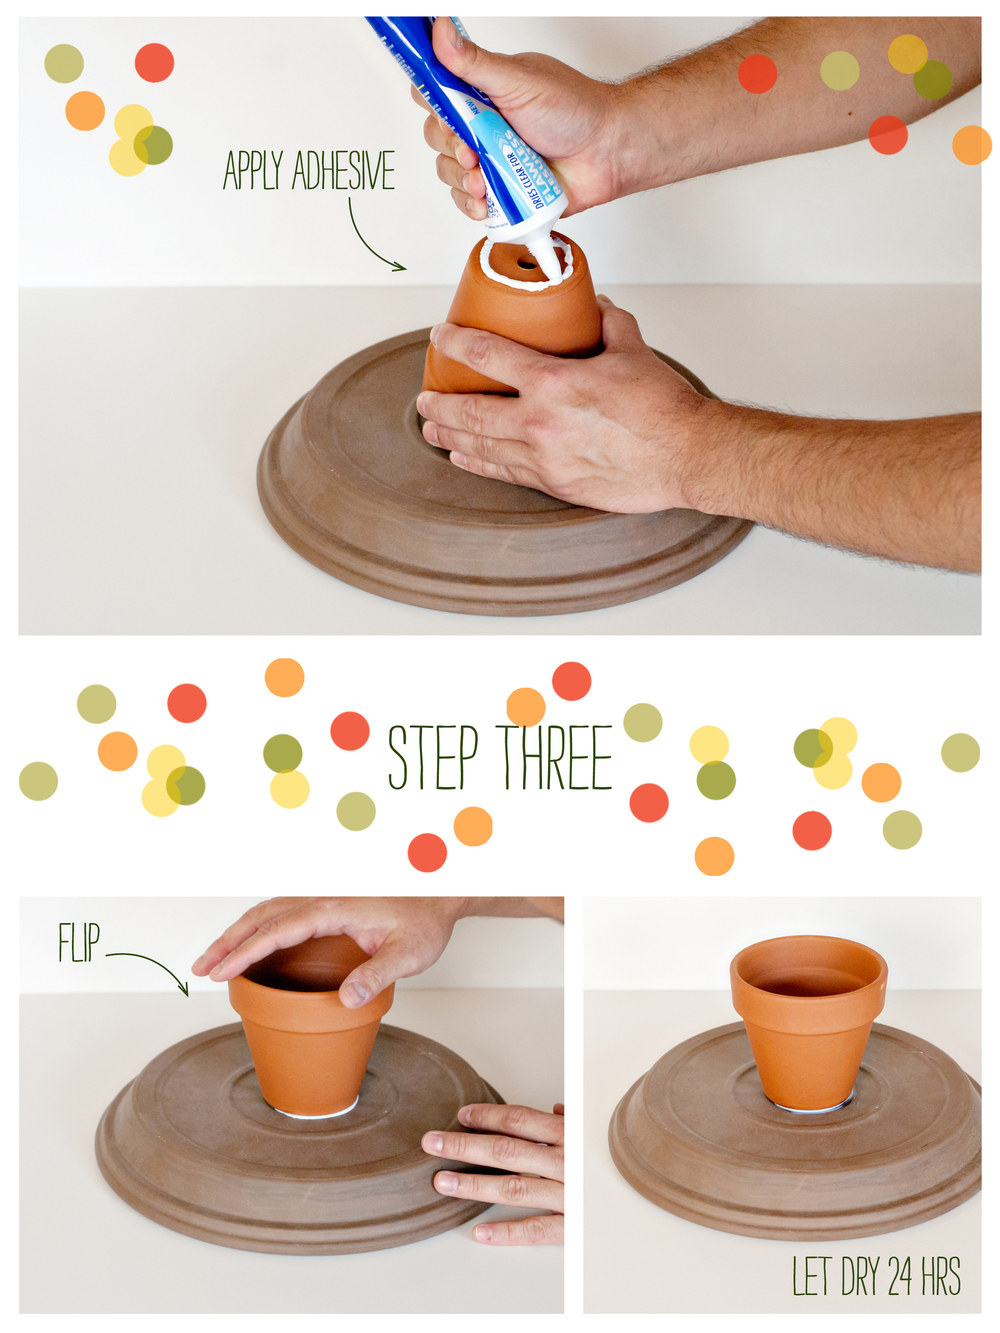
Select the circular piece of wood to be your base. Find the center of your base piece of wood and mark it by drawing on line horizontally and one line vertically meeting in the middle. Grab the candlestick and find the center of the base of it and mark it the same way. Draw your mark lines slightly up the side of the base of the candlestick about 1/8" in. Take your candlestick and apply a dab of liquid nails to the base then using the marks you made, line it up to match the center of the circular base. Do the same center marking to the rectangular wood block and the top of the candlestick, then line them up and glue together as well. You should now have a candlestick with a wooden block attached at each end. Let the piece dry for about an hour to ensure that it is secure before moving on to step three.
Step Three: Measure + Mark + Glue... Again
Turn your small wooden tray upside down and then find the center in the same method we did in Step Two. Do the same to the rectangular wooden block on the side that will attach to the bottom of the tray. Line 'em up and glue 'em. Let it dry an hour. Just like before.
Alternative to Step Two/Three: Walk on the Wild Side
If you aren't a fan of measuring stuff, walk on the wild side and eyeball that mess. We recommend you OCD it to death, but if you have a good eye for these things go ahead. Find what looks to be the center of everything, glue them to each other. Done.

We wanted a nice scalloped edge on our new pedestal and decided to use craft sticks with their perfect little rounded edges to get there.
Step Four: Cut!
Take out one of your craft sticks and hold it up to the outer edge of the tray. Decide how long you want your scalloped edge to hang down and hold it in place to mark a cut line. Take the stick and place it onto your safe cutting surface, then use the utility knife to cut on the line you marked. Use your first stick as a guide to cut all the rest to the same length. You will need approximately two dozen cut pieces to cover each long side of the tray. Lightly sand the cut edges to smooth them out. Overacheivers: go ahead and cut more to glue onto the ends of the tray as well.

Step Five: Measure + Mark + Glue... Again? Mmmhmm.
Lay your sticks out side by side. Measure the length of about 12 sticks together, then mark that measurement on both sides of your tray, making sure to keep things centered. You want to avoid having a gap at one end with no edging. It will look funny. Use your guides to glue the cut sticks on to the tray sides, lining them up evenly at the top and bottom and keeping the edges flush with one another. Let dry one hour. Did we mention that before? Overacheivers: Do the same for the tray ends.

Spray painting can come off beautifully or badly. Its all in the...finger. And the wrist. Basically your technique is key. If you aren't already a pro at spray painting we recommend a great tutorial courtesy of Becky Higgins which you can find here.
Step Six: Paint Makes it Pretty.
Now that you have glued and measured and marked and glued and measured and marked and glued again and again and again, whew, it's time to paint! So don't sweat all those pesky little marks we made you draw cause they are all about to disappear. Take your pretty new pedestal to your designated spray painting area. Well ventilated and properly protected. We prefer to go outdoors and take our chances with the elements most of the time. Sure it can be annoying with a little wind, but man is that paint stinky! We recommend you spray two to three coats of your paint. The wood is going to soak it up a bit at first, so if you prefer you can apply a light base coat of primer beforehand. If you are an old hat at this stuff, you don't need us to tell you anymore. But if you are a newbie to spraying paint then we do recommend you read the tutorial on spray painting. Allow your paint to dry according to the manufactuer's recommendations. You are done!
Note: If you plan to serve food that is not wrapped on your dessert pedestal you will need to do one of two things beforehand. You can either make an insert to put onto the bottom of the tray area to serve as a barrier between the painted surface and the food or you can apply a foodsafe top coat to the inside area of the tray where the food will touch. We chose the first option.


 Congratulations!
