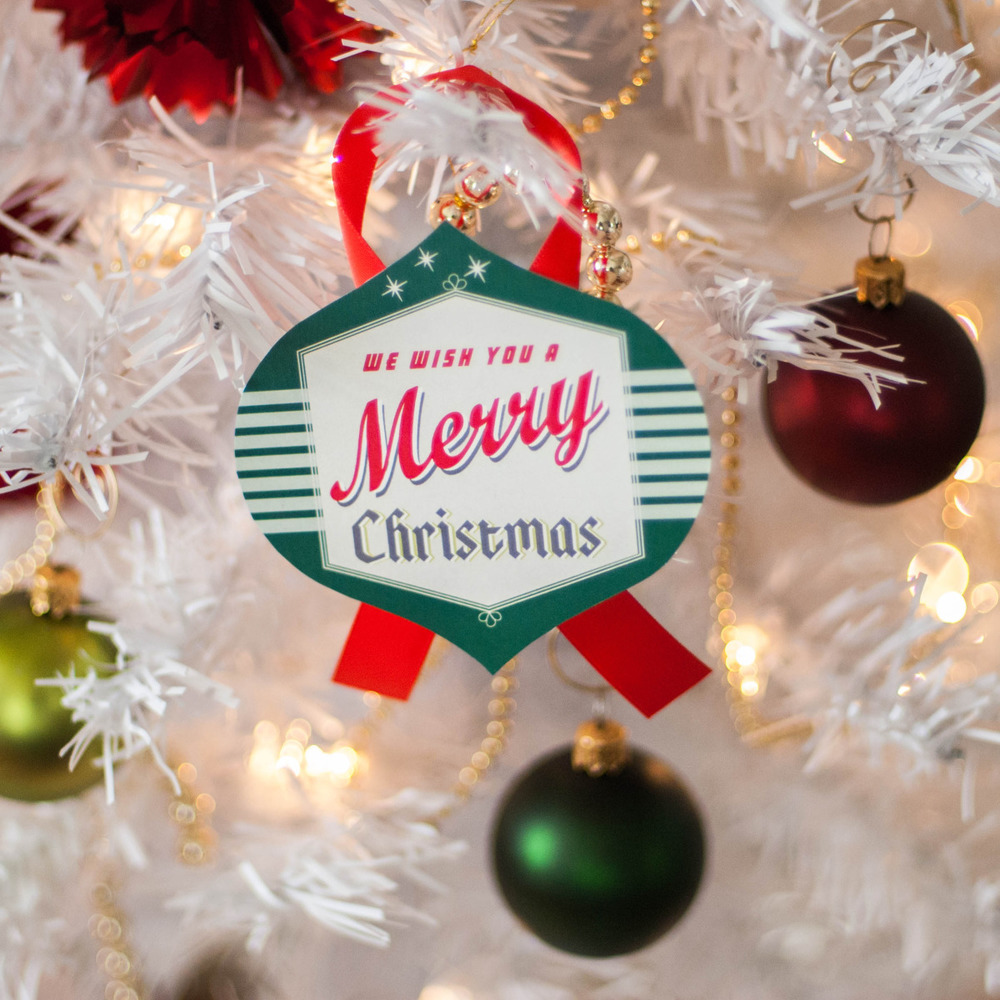
Retro 50's Style Christmas Party

This Retro 50’s Style Christmas Party harkens back to the days when housewives across America brought our their best cut-glass serving pieces, fine china and silver, baked all day, and invited friends and neighbors over to celebrate the season. It was a social time, a time to show off your inner hostess, eat delicious food, drink lots of eggnog and enjoy great company!

For me, this party is a reminder of my grandparents. My grandmother in particular, the perfect hostess. With their Americana patterned glass, polished silver, food galore, my grandfather’s special recipe for egg-nog and a huge bowl full of sherbet punch. Little crystal dishes scattered about the house filled with delectable sweet items. This was something we saw each and every holiday, Christmas being the most special of occasions. 

This Retro 50’s Style Christmas Party features those very same elements. We included old-fashioned gingerbread cake, classic vanilla cupcakes, various old-fashioned hard candies, egg-nog and the holiday staple fruitcake. The simplicity of this spread is that you could easily purchase all of the items on the table for a last-minute gathering. Or if you are the planning and baking type, you have a variety of cakes to satisfy your talent. 

Our Retro 50’s Style Christmas Party printables pictured are FREE to download and use for your family gathering.

THE SET INCLUDES:

  • Cupcake Wraps
  • 2” Party Circles
  • 5x7” Invitations (Fill-in yousrself)
  • 4” Ornament Tags
  • 2.5” Gift Tags
  • Labels / Tent Cards
  • 4- DIY Cake Stand Graphics - Sized at 8”x6”
  • Bottle Wraps / Napkin Rings
  • Flags
  • Banner 

Download the PDF file HERE and print whichever pages you need to create the perfect Retro 50’s Style Christmas Party for your family gathering this year!

Thank you for reading us this year!

Merry Christmas!

A Pink Flamingo Birthday (or) A Tropical Christmas Party

Our inspiration for the first of our two 2012 Christmas Holiday Party ideas comes from the photogenic Phoenicopterus, or more commonly referred to as the Flamingo.  

Forever immortalized in the lawns of Americans the country over; indeed even the flamingo sitting proud atop our white tree is of the tacky yard art variety.  Our second piece of inspiration came from a lovely roll of wrapping paper that we found at Hobby Lobby for $5.00, or some ridiculously low price for the amount of paper that was on the tube.  Its paisley and flowering pattern was the perfect pairing with our two toned pink colored plastic bird.  From those two pieces I was able to (almost) perfectly match the two shades of pink and the green color, which I then used to paint the very bland glass ornaments and the custom made cupcake mini-stands.

Design Details & Decorations

While at our nearest Hobby Lobby we happened to stumble upon the aforementioned wrapping paper and two other super finds.  

The first was a ceramic mirror stand that was hidden among other items in the clearance section.  While not really fitting the bill for what I needed at first glance, I was able to look past it’s initial flaws…namely being totally black in color and having a mirror in the center.  But for the miniscule amount of $2.00 (clearance priced down from $14.99!) I knew I couldn’t pass it up!  

The other, a bright pink metal serving tray, was found at some random floor display.  At first glance I was tempted to put it back as it was a tad brighter than I had wanted to go for the table, but upon turning it over and seeing the discounted price I was hooked.  

We then found the wrapping paper and everything clicked into place.  The paper actually had two shades of pink that matched perfectly with all of my items.

Decorative Elements:  We used a bright pink metal serving tray, along with custom made cupcake mini-stands painted to color match the wrapping paper that served as the backdrop.  The components for the stands were purchased at Hobby Lobby in bulk amounts and painted a pink/green combination, and adorned with off-white pearl strands and a light pink accent ribbon.  We also purchased several boxes of white glass ornaments from Dollar Tree, which we then spray painted (with the same paint as the stands) using Rust-Oleum’s satin Sweet Pea and Eden shades.  We also left one entire box unpainted to help break up the bright colors of the other tree decor.  We finished trimming the tree with a pink feather boa and plastic flamingo drink stirrers, also from Dollar Tree.


Glassware:  We utilized empty Frappuccino bottles for our strawberry flavored milk, as they make a cheap alternative to the French mini milk bottles that can be found at sites like www.save-on-crafts.com.  We then topped off the look with rigid plastic straws that looked similar to white and pink striped candy canes.

Serveware:  We previously mentioned a pink metal serving tray that was purchased from Hobby Lobby.  We also used white plastic bowls that were found on clearance at Target.

Other Miscellaneous Decor: An all black ceramic mirror stand was transformed into a matching decorative piece by removing the mirror in the center and leaving it open for a printed silhouette of a flamingo.  The black color was also covered up by a coat of white primer spray paint, then a top coat of Rust-Oleum’s satin Eden shade of green.  Several empty boxes were wrapped in light pink wrapping paper and finished with various ribbons in multiple shades of pink and white to complete the look of our Christmas tree decor.

The Flamingo:  Found on clearance at one of our local Kroger grocery stores for 50% off of it’s regular price.  Came with a set of metal legs for mounting into the ground.  Replaced the legs with thin wooden dowels that were painted white and wrapped in a thin pink ribbon to emulate the look of the straws and/or candy canes.

Printable Party Decor: The printable items you see can be found in our shop.  All our printables include custom text specific to your special event!

Sweets & Treats

So now that you know how to create a perfect pink and Festive Flamingo Holiday theme, it’s time to add the goodies! For this theme we decided upon one baked item and one beverage and then filled in with a couple of candy items that looked nice with the color scheme. The pink Whoppers were a nice find, along with the traditional Snowball cake that you can find just about anywhere. We believe not only in easy tablescapes that pinch pennies but also simple recipes you can DIY too! This dessert table is oriented to fit any type of event be it baby shower, Christmas or birthday. It isn’t necessarily restricted to the winter holidays and could easily transform to suit a baby shower or little girl’s birthday, or even a tropical themed wedding or bridal shower.

Here is a full list of the treats pictured:

  1. Pink and White Candy Canes
  2. Strawberry Whoppers
  3. Strawberry Flavored Milk
  4. Snowball Cakes
  5. Pink Flamingo Sugar Cookies

You can of course serve whatever your heart (or your party honoree) desires, we just chose some pink and seasonal items to match the Christmas time of year! Merry Christmas everyone!


Chevron & Kraft Paper Printables + a Giveaway

Today we are showing you our Chevron and Kraft Printable Party Decorations, which you can DOWNLOAD FREE RIGHT HERE and print at home! The Free version comes with standard text for Thanksgiving. 

If you want your printables to have specific text, you can order the set in our Etsy Shop Right Here. 

The entire set includes:

  • 5x7” Signs
  • 8x10” Signs
  • Straw Flags
  • Tent Cards (for food labeling or place settings)
  • 2” Party Circles
  • Napkin Rings / Bottle Wraps
  • Banner

Design Details & Decorations

This set was inspired by our love for all thing Kraft Paper. We use it in so many ways. I think it makes the best gift wrap, a really neat table runner or even a backdrop or cover for an entire table. And super cool bonus, using it to cover your table does provide an extra easy clean-up after the meal + entertainment for the kiddies if you provide crayons! We recently purchased a few rolls we found at the Dollar Tree that have a pre-printed gold star pattern on them, and plan to use it for our Christmas wrap this year! We also incorporated the steadfast popular chevron design that you see everywhere these days. Ours is a bit of a twist however with the addition of a hand painted stroke, instead of complexly uniform lines. It almost lends a more tribal feel to the design, but we’ll let you be the judge!

Elements

We chose a wooden tabletop to provide a dark contrast and warm tone to our very bright and metallic color palate. We enlisted the help of The Flair Exchange who was kind enough to donate a fabulous tissue tassel garland to display with our backdrop. (Enter to win it HERE) We also used a dark plum colored plate set that we found at Big Lots, really inexpensive and the perfect purple, in conjunction with a few paper cutouts in solid coordinating colors. 

Backdrop

For this particular shoot we used it as our backdrop, and hand painted the chevron pattern onto it with some craft paint in the coordinating colors of turquoise, slate, plum and wine.

Leaves

We purchase inexpensive faux leaves from Michaels and did some more hand painting to make them match our theme. Of course you can’t find a turquoise leaf in nature, so we improvised!

Candlesticks

We purchased several wooden candlestick in varying heights to provide dimension and interest in our display. Then we hand painted them with the same 4 colors we used for the backdrop and leaves. The original idea was to have actual candles in them, however we could not find silver candles anywhere! (Keep in mind we do not aim to break the bank on little details, so we limited ourselves to the discount stores) Since that didn’t work out, we instead used them as props for your fall fruit, serving pieces and printables.

Fall Fruit

We purchased very inexpensive Styrofoam fruit from the Dollar Tree and decided that it need to be spray painted in a Gun-metal Metallic. This added a bit of bling and shine while also providing a sizable element to the color palate that was neutral. We really loved how shiny and sophisticated our dollar fruits wee after a coat of primer and paint!

Sweet & Treats

So now that you know how to pull all the design elements together, it’s time to talk turkey. Well not turkey actually, but food yes. You will be dismayed (maybe) or ecstatic (hopefully?) to know that every bit of food was store bought. Our original intention was to make some stellar gourmet chocolates to feature, utilizing the awesome jewel shaped chocolate molds we founds at Sur La Table. Alas, I am not a gifted chocolatier however, not even close. We even tried to gather a few volunteers from the Party Food worls to feature on the table, but with the impending holidays it was just too hectic to ask more of their already crazy schedules. So we improvised. And by improvise I mean, we bought a lots of chocolate and cookies from the store. (Don’t hate us please!) We would have loved to also be able to get some hand made chocolates here in town from a candy shop or similar, but guess what? Our tiny town has no such shop, and we were forced to rely on the likes of mass produced chocolates and tins of cookies. The good new is though, if you are a budget savvy being, the foods were inexpensive.

You could really go in a few directions for your own event, depending on what you plan to serve of course:

  1. Buy chocolate and cookies from a online artisan on Etsy.com, our first choice.
  2. Find a local retailer who makes them, they will certainly appreciate your business.
  3. The all-else fails method: Russel-Stover and Whitmans for everyone.

We are keeping this one short and sweet this go-round because we know you are all busy little bees, planning your Thanksgiving celebrations with family and friends!

We hope your holiday is filled with good food and excellent company, Happy Thanksgiving!