DIY Ombre Clothespin Garland

Ombre is so hot right now. LOL. I feel so silly saying that word, almost like it’s so trendy it’s kind of pretentious at the same time. In my line of work, “ombre” refers to a style effect we call color gradient, or the progression of one color into another. So every time I see someone type ombre, I immediately want to shout, “No! It’s a color gradient!” Oh well, this one time I will be trendy and show you how to DIY ombre clothespin garland.

This DIY Ombre Clothespin Garland is super easy and inexpensive to make. It just requires a bit of time and patience, and clothes you don’t mind dying a different color. I made the mistake of wearing a new mint green cowl neck sweater I was especially proud of since I found it on clearance at Target for less that $8. Since it quickly became mint green with bright red spots, I went ahead and dyed it too once my clothespins were finished. Still kind of sore about that one. I really liked the green.

For this project you will need:

  • Wooden Clothespins (We prefer the kind they sell at Dollar General, Wal-Mart pins are stain resistant and do not dye as well.)
  • String, Clothesline or Twine for hanging
  • Rit Dye, Plastic Containers, Hot Water, Newsprint or Paper for drying.
  • Patience and Old Clothes
  • Warm Sunshine or an Oven that reaches at least 250 degrees
  • About $7 for materials

Step-by-step pictorial shown first, then see below it for the directions that follow.

Step One: Remove nice clothing and replace it with clothing you don’t mind getting messy. This is really just a precaution, but if the dye splashes unexpectedly, you will instantly regret skipping this step. Trust me.

Step Two: Prepare hot water (almost boiling) and fill several plastic containers. Immediately add as much or as little dye to each container as you want. We used two containers, and gradually increased the amount of dye in each one with each new batch of pins we added. The more dye you add, the darker the color of course. We started ours with just a few teaspoons for the lightest shade of our ombre.

Step Three: Turn on your patience. Add as many pins as you want to each of your containers and move them around and dunk them so that they are fully covered. You will want to turn them over and move them around several times while you wait to make sure each side gets dyed evenly. We used another clothespin to do our adjusting so that we weren’t coloring our hands. You will need to wait a minimum of 10 minutes for each batch to absorb the dye.

Step Four: Carefully remove the pins using tongs or another clothespin, one at a time and place them onto your drying surface. Try to keep your groups together as this will make assembly easier in the end, rather than mixing your color shades all together.

Step Five: Once you have all of your pins dyed, place them in a warm dry sunny spot outside to dry. Alternatively you can place them on lined baking sheets in the oven at 250 degrees for about 30-45 minutes also. (This is what we did.) 

Step Six: Once your pins are dry it is time to assemble your garland. Your options here are totally up to your creativity. You could hang your pins onto your garland string going from light to dark, or you could place your lightest pins in the middle and go darker on each side working outwardly.

Get creative with your garland. Fancy things up by adding a transparent glitter for shimmer or even painting the tips a metallic color to add contrast! If I had it to do over again, I would have added a nice punch of Silver to the tops of each of my pins above the metal hinge. You can use this in a child’s room to hang artwork, as a backdrop for party decor, a fun photo booth prop or wedding decor. Use multiple colors and even create a rainbow spectrum by combining dyes.

We hope you enjoyed this easy on the eyes, wallet and skill level DIY Ombre Clothespin Garland.

Super Bowl Fun for Kids

Holy smokes, we made it to daytime television! This past Wednesday we were featured on the Daytime Blue Ridge program at the local WSLS new station in Roanoke, VA. Jamie of Macaroni Kid Roanoke comissioned us for Super Bowl printables to display for her television spot and we were all too happy to help her out. Check out the program here for some really cool Super Bowl idea to keep the kids busy and happy during the game! 

Sneak Peek: DIY Adventure Time Character

We have a very spcial young lady here that is turning 13 (OMG she is turning 13…) next month and love nothing more than to watch the popular show on Cartoon Network, Adventure Time. So being the party planning fools we are, nothing short of “Mathmatical” would do do this party. Jason has been hard at work planning away and creating some super cute DIY Adventure Time Characters.

The 1st DIY Adventure Time Character, BMO

BMO is the roomate of main characters Finn and Jake. Their living video game console, portable electrical outlet, music player, roommate, camera, alarm clock, toaster, flashlight, strobe light, skateboarder, friend, soccer player, video editor, and video player.

The 2nd DIY Adventure Time Character: Lumpy Space Princess

This was a colaborative effort, Lumpy Space Princess. This one is my personal favorite. Lumpy Space Princess looks like a cloud and speaks in a distorted masculine voice characteristic of the Lumpy Space People. She has sharp teeth and a yellow star on her forehead that glows while she is floating. Lumpy Space Princess acts like a bratty, apathetic, attention-seeking and willfully ignorant teenager, and it is very entertaining.

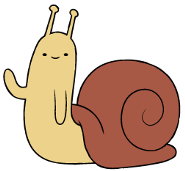
The 3rd DIY Adventure Time Character, the Snail

The Snail is hidden in each episode and is usually seen waving at you. His cameos are a running gag. We plan to turn this into some sort of game for the kids at the party, (kind of like Where’s Waldo) whoever finds him, gets a prize.

Here are our DIY Adventure Time Character creations!

Made of Wood, sculpy clay, painted.

Made of Felt, Craft Foam and Wood Circles painted to match.Made of Sculpy clay, painted.

DIY Super Bowl Football Party Ideas & Recipes

It’s that time of year again folks, are you ready? We have some outstanding DIY Super Bowl Football Party Ideas & Recipes for you to make your celebration the best on the block! Whether you just need a few tips or a full DIY tutorial, we’ve got you covered. 

DECORATIONS

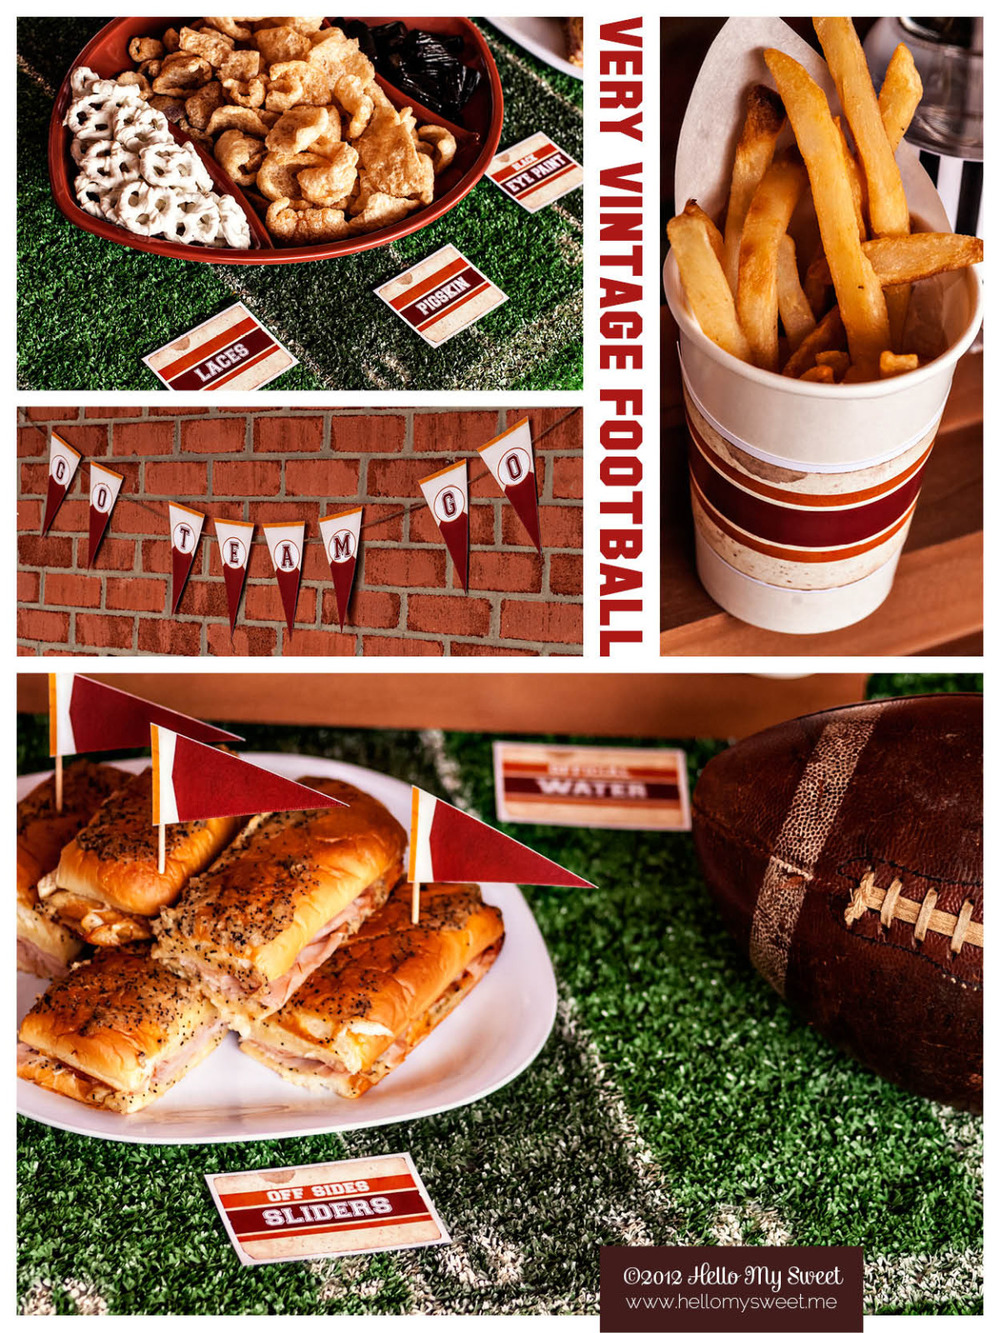
First off we want to refer you to our original post here about the Football Party we put together back in August. This party is chock full of DIY Super Bowl Football Party Ideas & Recipes, a full plan that includes our Football Printable Party Decorations that are available in our shop. The Football Printables include everything you need to set up your party like ours, custom text, and custom team colors!

FOOD

Next up, Super Bowl Party Recipes! Be sure to include our Cupcake For Men on your party table, a moist delicious treat that will please everyone. Ingredients include: BEER, CHEESE & BACON. What more could you want in a cupcake really? To see the rest of the recipes we used on our table and much much more, visit our Football Board on Pinterest here. If you feel bit nervous about a cupcake that includes beer and cheddar cheese (I was at first) let me put your mind at ease. These are still sweet just like any other cake, and the beer in the buttercream is the perfect touch. Use your favorite and get creative with specialty cheeses too, you could make these cupcakes something simple or super gourmet.

DIY Super Bowl Football Party Ideas & Recipes pictured include: Kickin’ Hot Buffalo Chicken Cups and Off-Sides Ham & Swiss Sliders. These are both mouth-wateringly delicious recipes, and we were very pleased with the results! A big thank you to Gimme Some Oven and The Girl Who Ate Everything for providing the perfect recipes.

PROPS for your DIY Super Bowl Football Party

We created a few props for this party that really pulled everything together and made the look of a football field complete. Props include the step-by-step DIY projects linked below:

Football Field Table Cover

Football Party Bleachers Display

If you aren’t the DIY type, you can also purchase these props from our shop here instead.

We hope this helps you kick off your party in style!