Good Morning Sunshines!
We are bringing you a heaping helping of bright, cheerful, and dare we say sunny, party ideas today!This celebration was designed with a sit-down brunch in mind and is perfect for a wedding, rehearsal, baby or bridal shower, or even a birthday celebration.
 Our inspiration came to us from an unlikely source, a San Pellegrino Sparkling Fruit Beverage. I totally fell for their uber chic, drink me at once and feel special marketing ploy. I knew it was happening, and I didn’t even care. I found them in the refrigerated area of my local pharmacy one day when I was particularly parched and unable to go another minute without something to drink. (It has been hot down here in the south I tell ya, H-O-T!) Anywho, I spotted the Pellegrino and thought, that looks really refreshing, and when I got home I had another thought: We should do a citrus themed party based on the flavors that this drink comes in. And so it came to pass, we put together this little soiree, a Citrus Brunch Celebration. Side note: We have since seen these drinks at our grocery store as well, in a can version which are equally cute.
 The first thing we decided for this party was the color scheme. In keeping with the citrus theme we wanted to go somewhat analogous, so we kept our palette to oranges, yellows and orange-reds. Since those colors are so vibrant and make a big splash, we decided to keep the rest of the elements very neutral. The serving pieces and table coverings were white and tan, and we added only a splash of metallic with the silverware and chargers, which we decided should be gold to keep with the warm color palette. We added our citrus colors in with not only the food, but the flower arrangement, some ribbons and of course the printable collection.
 For this celebration we really wanted to demonstrate the scope of the party from the place settings to the buffet set up as well. We also wanted to make sure we kept everything within our allotted budget, while setting up two separate tables. Of course, we understand if you are putting together a large party and not just a photoshoot you will need more supplies than what we have shown. But hopefully you will be able to take away from this some valuable money saving options so that your own party can be kept within a budget!
Here is a list of our costs and where we found most of the items that you see:
From Dollar Tree: (all items $1 each!)
- White Melamine Plates & Bowls $6
- Poppy Flowers $4
- Ribbons $3
- Silverware $3
- Glassware $3
- 2 Foamcore Boards (our chargers) $2
From Joann Fabrics:
- Yellow Ric-rac trim $1.99
- Chinese Lantern Flowers $4.99
- White Flowers $3.99
From Wal-mart:
- Gold spray paint $3.59
From IKEA:
- White Photo Frame $1
Things we already owned:
- Tables, Chairs, Side Table
- Large Green Glass Bottle
- Tall White Vase
- Drop Cloths
- White Wooden Crate
Things we made:
- Printable Decor $10 (cost of printing)
- Clay Pot Cake Stands $15 (for set of 3) Click for the DIY tutorial!
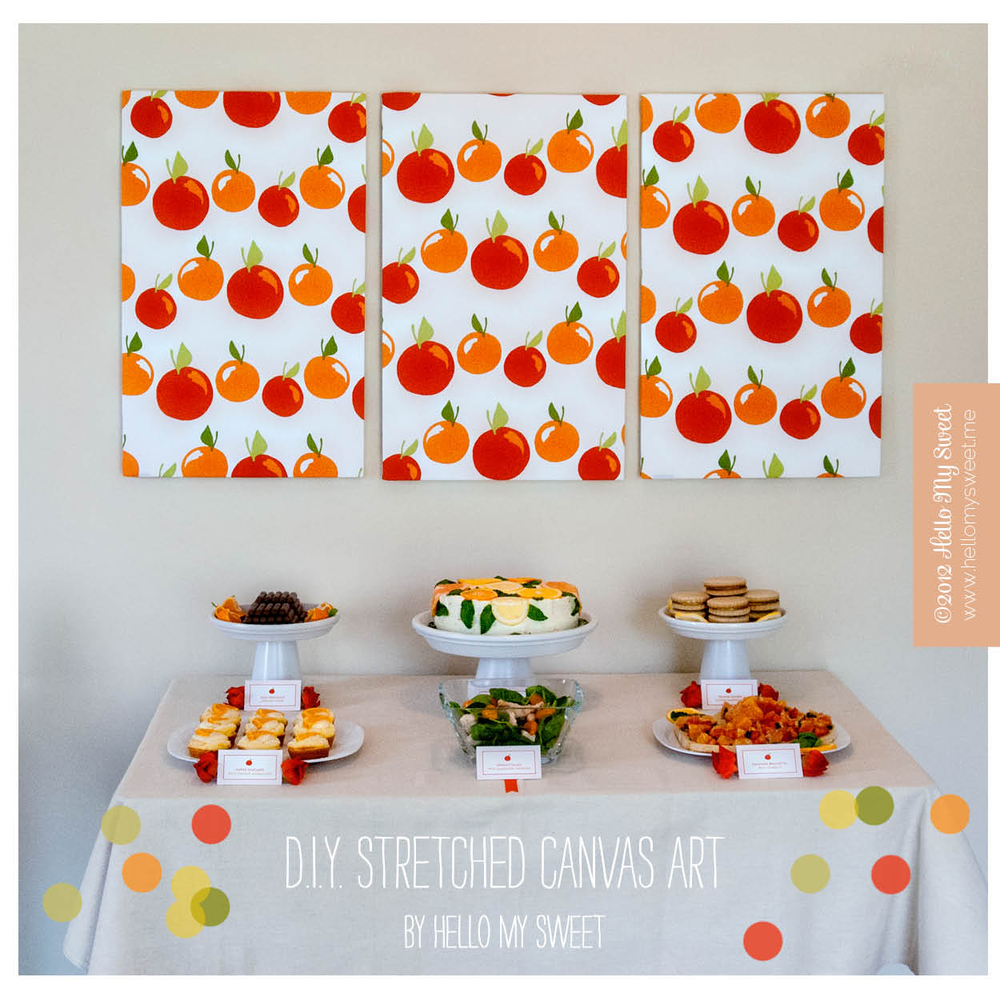
- Stretched Canvas Art $12 (for set of 3) Click for the DIY tutorial!

Now, if you are throwing a large party like a wedding reception, obviously all of your costs are going to be much greater. You may even choose to rent your glassware, dishes, silverware, etc. Our objective was to demonstrate a “look” that you could expand upon in your own way.
Here are a few ways to jazz up this celebration and make your event super special!
- Buy fresh flowers. We recommend fresh poppies and ranunculus for this tablescape, in vibrant orange-reds, yellows and orange. A budget friendly cluster of carnations could also look really nice as well, jazzed up with some asparagus fern draping out of the vases.
- Rent your serving pieces. Use a bright white ceramic or clear glass sets, square dishes with square bowls, gold toned silverware and a tall fancy stemmed glasses. Shiny metallic gold chargers underneath, with a beaded edge would add just the right amount of bling!
- Add some metallic gold taper candles, lots of them!
- Rent your table linens. Use a textured linen or smooth cotton fabric in tan. Drape them to the floor.
- Rent your chairs. We’ve seen some at other events that have a nice tropical feel to them, and appear to be made out of bamboo (even though they aren’t) and painted gold. These would be perfect! Yellow or orange seat cushions for these would be great as well if it is an option. If you prefer a more minimalist look, the clear acrylic chairs that are so popular would work nicely too.

Ok, let’s talk food. We have fallen into a rut lately of buying pre-made food for our tables instead of making things ourselves. This time around we decided that some of the lovely inspirations we’ve seen on Pinterest lately needed to make their way into our kitchen and onto our buffet. First off, we used fresh lemons, oranges and grapefruit for our decor. Not only were they fairly inexpensive, but just a perfect way to incorporate the colors we wanted. Second, the recipes we used came from websites that inspired us, so we really want to give credit where it is due. Below is a list of what we served, and where we found the recipe. All of these were delicious, by the way, so please try them out!
- Citrus Cake with Lemon-Orange Buttercream and a Lemon Curd Filling
- Mini-German Puffed Pancakes (we substituted in a ricotta and orange marmalade mixture)
- Orange-Ginger Cookie Sandwiches
- Sunshine Bruschetta
- Spinach Salad with Mandarin Oranges
- Chocolate Covered Orange Sticks
- Izze Sodas in Grapefruit and Celmentine

“Oh-emm-gee, that Citrus Cake was so H-O-T.” (That’s a variation on a quote from the Marmaduke movie that got stuck in my head, it used to be on a daily viewing schedule, the toddler loves the talking animals.) The cake tasted great, but I loved it most of all for its beautiful facade. It was gorgeous and I could not stop taking photos of it. We chose to cover ours with oranges, lemons, clementines, grapefruit slices and some sprigs of mint scattered about and sage leaves for the border around the base (decorative purposes only, sage + buttercream don’t taste good together). The recipe calls for blood oranges, but they are very hard to find around these parts so the grapefruit was our substitute. Our German Puffed Pancakes, well they were tasty too, but they did not puff like the recipe shows. We ended up with pancake “muffins” instead. We took out a little dip at the top and filled them with our ricotta and orange marmalade mixture and topped them with a sweet clementine slice and a dusting of powdered sugar. Sunshine Bruschetta is an interesting twist on the traditional bruschetta recipe with the addition of a citrus fruit. We added both grapefruit and oranges to ours.
 As for the printables, we were inspired to do a retro look with a modern twist, mimicking the new design of the GooGoo Clusters packaging. (If you haven’t seen it, take a peek, it really is quite nice.) We of course made our colors much more vibrant, carrying out the planned color palette we mentioned earlier. Since we wanted this party to be an option for large formal events and small informal events alike, we included the following items in our printable collection:
- Buffet Menu Display
- Individual Menus
- Bar Menu
- Escort Cards
- Food Tags
- Place Cards
- Table Cards
- Decorative Flags
- Banner
We hope that this bright and vibrant celebration has put a smile on your face and some inspiration into your party planning.
If you have any questions, suggestions or comments we welcome your feedback!